
Maybe you’re in a hurry to snap a sunset photo. Maybe your tripod wasn’t quite level. Maybe you handed your camera to a stranger and they tilted at the last moment. Whatever the reason, you’re stuck with an angled picture.
 Maybe you’re in a hurry to snap a sunset photo. Maybe your tripod wasn’t quite level. Maybe you handed your camera to a stranger and they tilted at the last moment. Whatever the reason, you’re stuck with an angled picture.
Thankfully, there’s a quick and easy way to straighten that image horizontally or vertically in Adobe Photoshop! Just follow these simple steps.
Looking to try Photoshop? Give it a whirl here:

7 quick steps to straighten a photo in Photoshop
1. Import your photo in Photoshop: File > Open > select your image
For the purposes of this tutorial, we’ll use a screenshot from “Battlefield Earth” because that entire movie was shot at a Dutch angle for some reason.
2. Left-click the Eyedropper Tool on the left side and select the Ruler Tool
3. With the Ruler Tool selected, you’ll simply make two clicks. See if you can find a horizontal straight line in your image. Maybe it’s a windowsill or a door frame. Anything that is level in real life will work.
It can also work with a vertical straight line – the side of a building or a flag pole can come in handy here. We’re going to draw a line along anything straight.
Click on one point of the line that should be horizontal, then click on another point in the image that should be horizontal, like this:
After your second click, a temporary line is left behind. That’s what Photoshop will use to straighten the image.
4. Go to Image > Image Rotation > Arbitrary
When you click it, it does the math to rotate your image perfectly.
Click OK .
5. Boom! Your image has been rotated. Photoshop expanded the canvas to fit the whole image. Because we made our line along that metal rail in the back, it is now level.
6. Obviously, we don’t need all that extra image, so let’s crop it down. Select the Crop Tool , then click and drag a box around just the image you want to keep.
7. Press Enter and all the distracting stuff goes away.
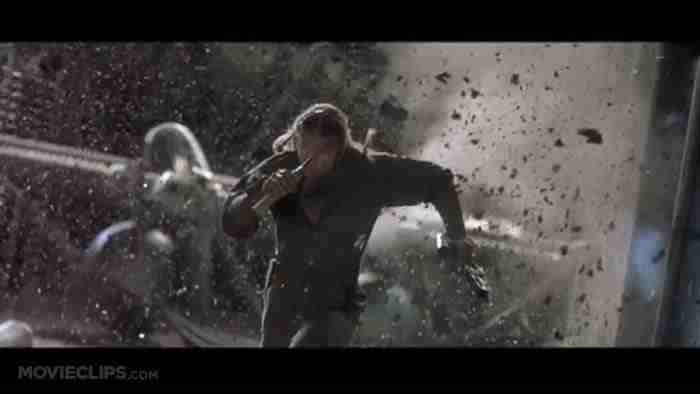
Look at this beautiful final result of Barry Pepper running away from what could have been a bright future in Hollywood!
If you’re stuck without a horizontal or vertical line to get your photo straight, you can always free rotate that bad boy until your crooked image looks right. In that case, select your entire canvas , then go to Edit > Transform > Rotate. You’ll be eyeballing it, but at least you can come close!
More about image editors
5 best apps for drawing on the go ►
4 free apps for editing photos on your smartphone ►
5 best online Photoshop alternatives ►
Beginner’s guide to Photoshop ►