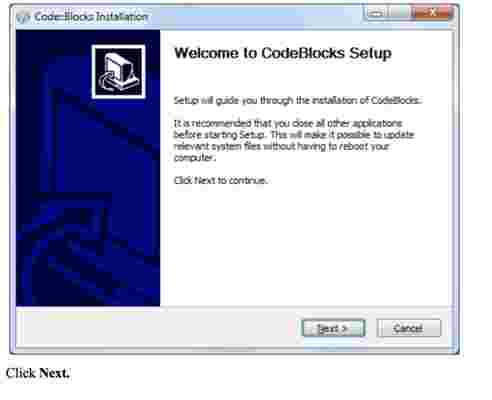
Code::Blocks is an open-source IDE (Integrated Development Environment). It helps you to work on software and programs you are developing, including coding, debugging, testing, and much more. It supports many compilers, such as GNU GCC (MinGW and Cygwin) and MS Visual C++. It is also free to download. If this is your first time with Code::Blocks, you’re in the right place! We’ll help you get up and running.
Installing Code::Blocks
To get started, follow these steps:

Starting your first project
Step 1. Launch the Project Wizard
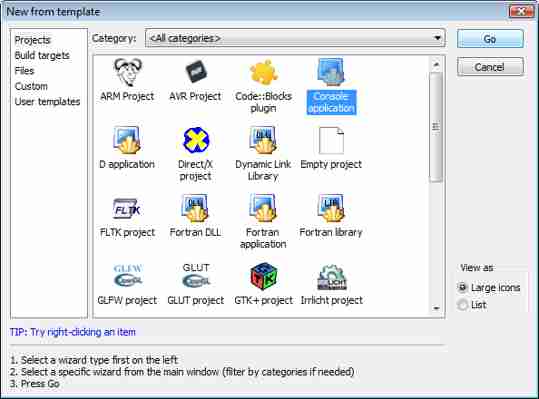
Select File->New->Project… to start a new project. You can select from many types of templates to help get your project started. For your first project, select Console application , as this is the most common for general purposes. Click Go .

Step 2. Select the destination for your project.
Choose your programming language, (for example C++) when prompted for a language. Then, on the next screen, give the project a title and select a destination folder. Code::Blocks will generate the remaining entries from these two.
Step 3. Choose your compiler.
This is often the default compiler that you use on your machine. The default builds will be debug & release. If another option is needed, select it here.
Step 4. Finish
After selecting Finish , you’re on your way to your first project!
